Are your wood floors looking worn, dull, or scratched? Don’t worry, we’ve got you covered! In this step-by-step guide to wood floor refinishing, we’ll show you how to bring out the natural beauty hidden within your hardwood floors. Whether you’re a DIY enthusiast or just looking to save some money, refinishing your wood floors can be a rewarding and cost-effective project.
With our expert tips and techniques, you’ll learn how to properly prepare your floors, choose the right refinishing products, and apply them like a pro. We’ll walk you through the entire process, from sanding and patching to staining and sealing. By the end of this guide, you’ll be able to transform your dull and damaged floors into stunning masterpieces that will impress your guests and enhance the overall beauty of your home.
Discover the satisfaction of reviving your wood floors and reclaiming their original splendor. Get ready to roll up your sleeves and uncover the hidden beauty within. Let’s dive in and make your floors shine again!
Understanding the benefits of refinishing wood floors
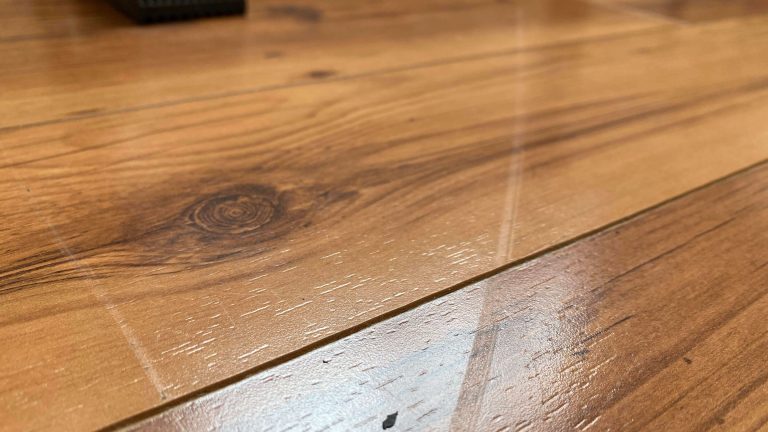
Refinishing your wood floors not only enhances the aesthetics of your home but also offers numerous other benefits. First and foremost, refinishing can extend the lifespan of your wood floors by protecting them from further wear and tear. It helps to eliminate scratches, dents, and stains, giving your floors a fresh and polished look. Additionally, refinishing allows you to change the color and finish of your wood floors, giving you the flexibility to match your interior design preferences. Lastly, by refinishing your wood floors, you can increase the value of your home, making it more appealing to potential buyers.
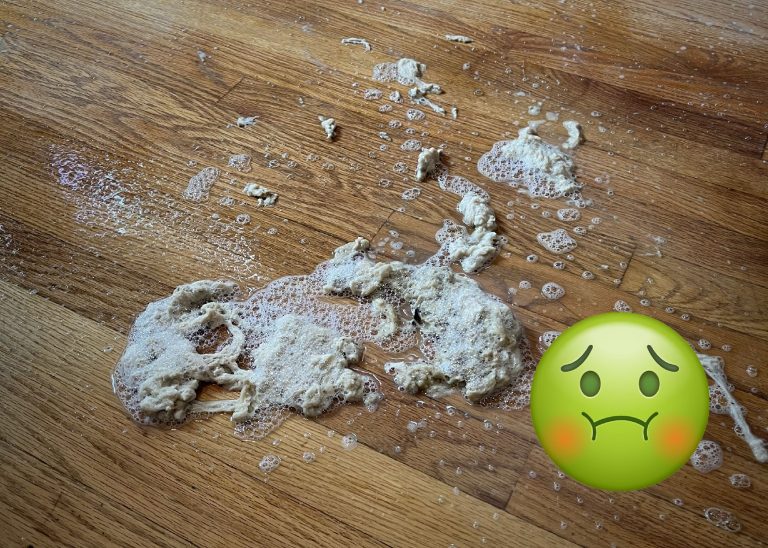
When considering whether to refinish your wood floors, take a moment to assess their current condition. Are there deep scratches, stains, or signs of water damage? If so, refinishing is likely the best option. However, if your floors are severely damaged or have major structural issues, it might be necessary to consult a professional before proceeding with refinishing.

Assessing the condition of your wood floors
Before diving into the refinishing process, it’s crucial to properly prepare your wood floors. Start by clearing the room of furniture and other objects, creating a clean and open space to work in. Next, thoroughly clean your floors by sweeping away any dust, dirt, or debris. You can use a broom or a vacuum cleaner with a soft brush attachment to ensure a thorough clean.
Once your floors are clean, it’s time to tackle any imperfections. Inspect your floors for loose boards, gaps, or cracks. Use a putty knife to fill in any gaps or cracks with a wood filler, ensuring a smooth and even surface. Allow the filler to dry completely before moving on to the next step.
Preparing your wood floors for refinishing
Now that your wood floors are properly prepared, it’s time to start sanding and buffing. This process will help remove the old finish, smooth out imperfections, and prepare the surface for staining and sealing. Start by renting a floor sander and purchasing the necessary sandpaper grits.
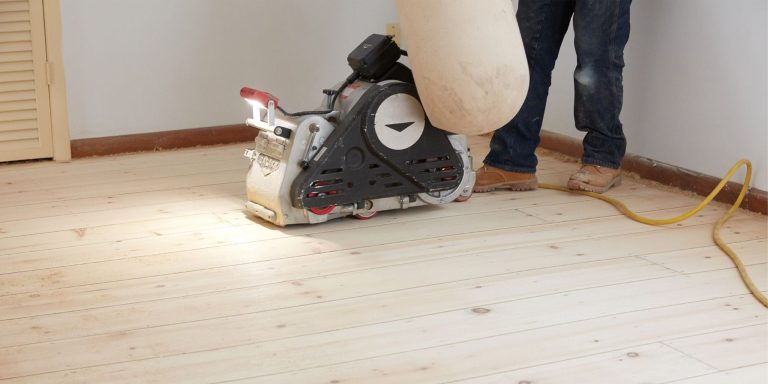
Step-by-step guide to sanding and buffing your wood floors
Begin sanding your floors with the coarsest grit sandpaper, working in the direction of the wood grain. Gradually progress to finer grits, ensuring that you remove all traces of the old finish. Take your time and be thorough, paying extra attention to high-traffic areas and areas with deeper scratches. Once you’ve completed the sanding process, use a buffer to smooth out any remaining imperfections and create a uniform surface.
Choosing the right stain and finish for your wood floors
Choosing the right stain and finish is a crucial step in the wood floor refinishing process. The stain will determine the color of your floors, while the finish will provide protection and enhance the overall appearance. When selecting a stain, consider factors such as the type of wood, your desired color, and the existing decor in your home. Test the stain on a small, inconspicuous area of your floors to ensure it’s the desired shade before applying it to the entire surface.
As for the finish, you have several options, including polyurethane, oil-based, and water-based finishes. Each type of finish has its own advantages and considerations. Polyurethane finishes offer durability and resistance to scratches, making them ideal for high-traffic areas. Oil-based finishes provide a rich and warm look, but they require longer drying times. Water-based finishes are environmentally friendly, dry quickly, and offer great protection. Choose the finish that best suits your needs and preferences.
Applying the stain and finish to your wood floors
Now that you’ve chosen the perfect stain and finish, it’s time to apply them to your wood floors. Begin by thoroughly cleaning your floors to remove any dust or debris left from the sanding process. Use a tack cloth or a damp cloth to ensure a clean surface. Next, apply the stain using a brush or a rag, working in small sections and following the direction of the wood grain. Allow the stain to penetrate for the recommended time before wiping off any excess.
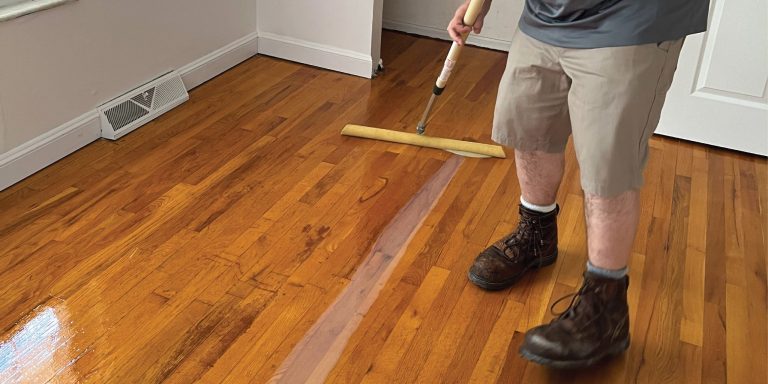
Once the stain has dried, it’s time to apply the finish. Start by stirring the finish thoroughly to ensure an even application. Use a brush or a lambswool applicator to apply the finish, working in long, even strokes. Be careful to avoid overlapping or applying too much finish in one area. Allow the first coat to dry completely before applying additional coats, following the manufacturer’s instructions. Remember to lightly sand between coats for a smooth and professional finish.
Caring for and maintaining your newly refinished wood floors
Congratulations! You’ve successfully refinished your wood floors and brought out their hidden beauty using this guide to wood floor refinishing. Now, it’s important to take proper care of your newly refinished floors to maintain their beauty and longevity. Avoid walking on the floors with shoes or high heels that could potentially scratch the surface. Place felt pads under furniture legs to prevent scratches and use rugs or mats in high-traffic areas to protect the finish.
Regularly sweep or vacuum your floors to remove dust and dirt, and clean them with a damp mop using a mild wood floor cleaner. Avoid using harsh chemicals or abrasive cleaners that could damage the finish. Clean ReCoat offers annual Clean Only services to ensure your wood floors are cleaned from these cleaners and remain protected. Additionally, consider applying a maintenance coat of finish every few years to keep your floors looking their best.
Common mistakes to avoid when refinishing wood floors
While refinishing wood floors can be a rewarding project, there are some common mistakes that you should avoid. One of the biggest mistakes is skipping the proper preparation steps. Failing to clean, fill gaps, or sand the floors thoroughly can result in an uneven finish and poor adhesion. Another mistake is rushing the drying process. Allow sufficient drying time between coats of stain and finish to ensure a durable and long-lasting result. Lastly, be cautious with the amount of stain and finish you apply. Applying too much can result in a sticky or uneven finish, while applying too little may not provide adequate protection.
This project can seem daunting and overwhelming, Clean ReCoat offers assistance in solving all kinds of wood floor refinishing projects. Our innovative Clean ReCoat solution requires just one day to complete at a fraction of the cost of traditional wood floor refinishing and, best of all, is dustless! Whatever your floor needs to bring it back to looking its best, we’re here to help.
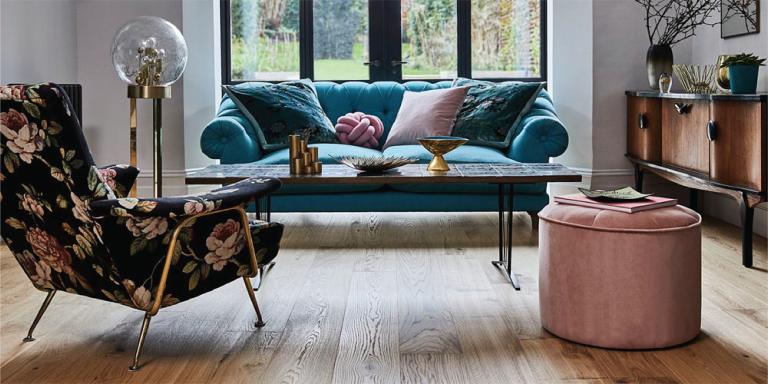
Enjoy the beauty of your freshly refinished wood floors
By following this step-by-step guide to wood floor refinishing, you’ve successfully transformed your worn and dull floors into stunning masterpieces. The process may have required some time and effort, but the results are well worth it. Now, you can enjoy the beauty and warmth of your newly refinished wood floors for years to come. Remember to take proper care of your floors and address any issues promptly to maintain their splendor. So go ahead, invite your guests over, and let them witness the beauty that lies within your wood floors.